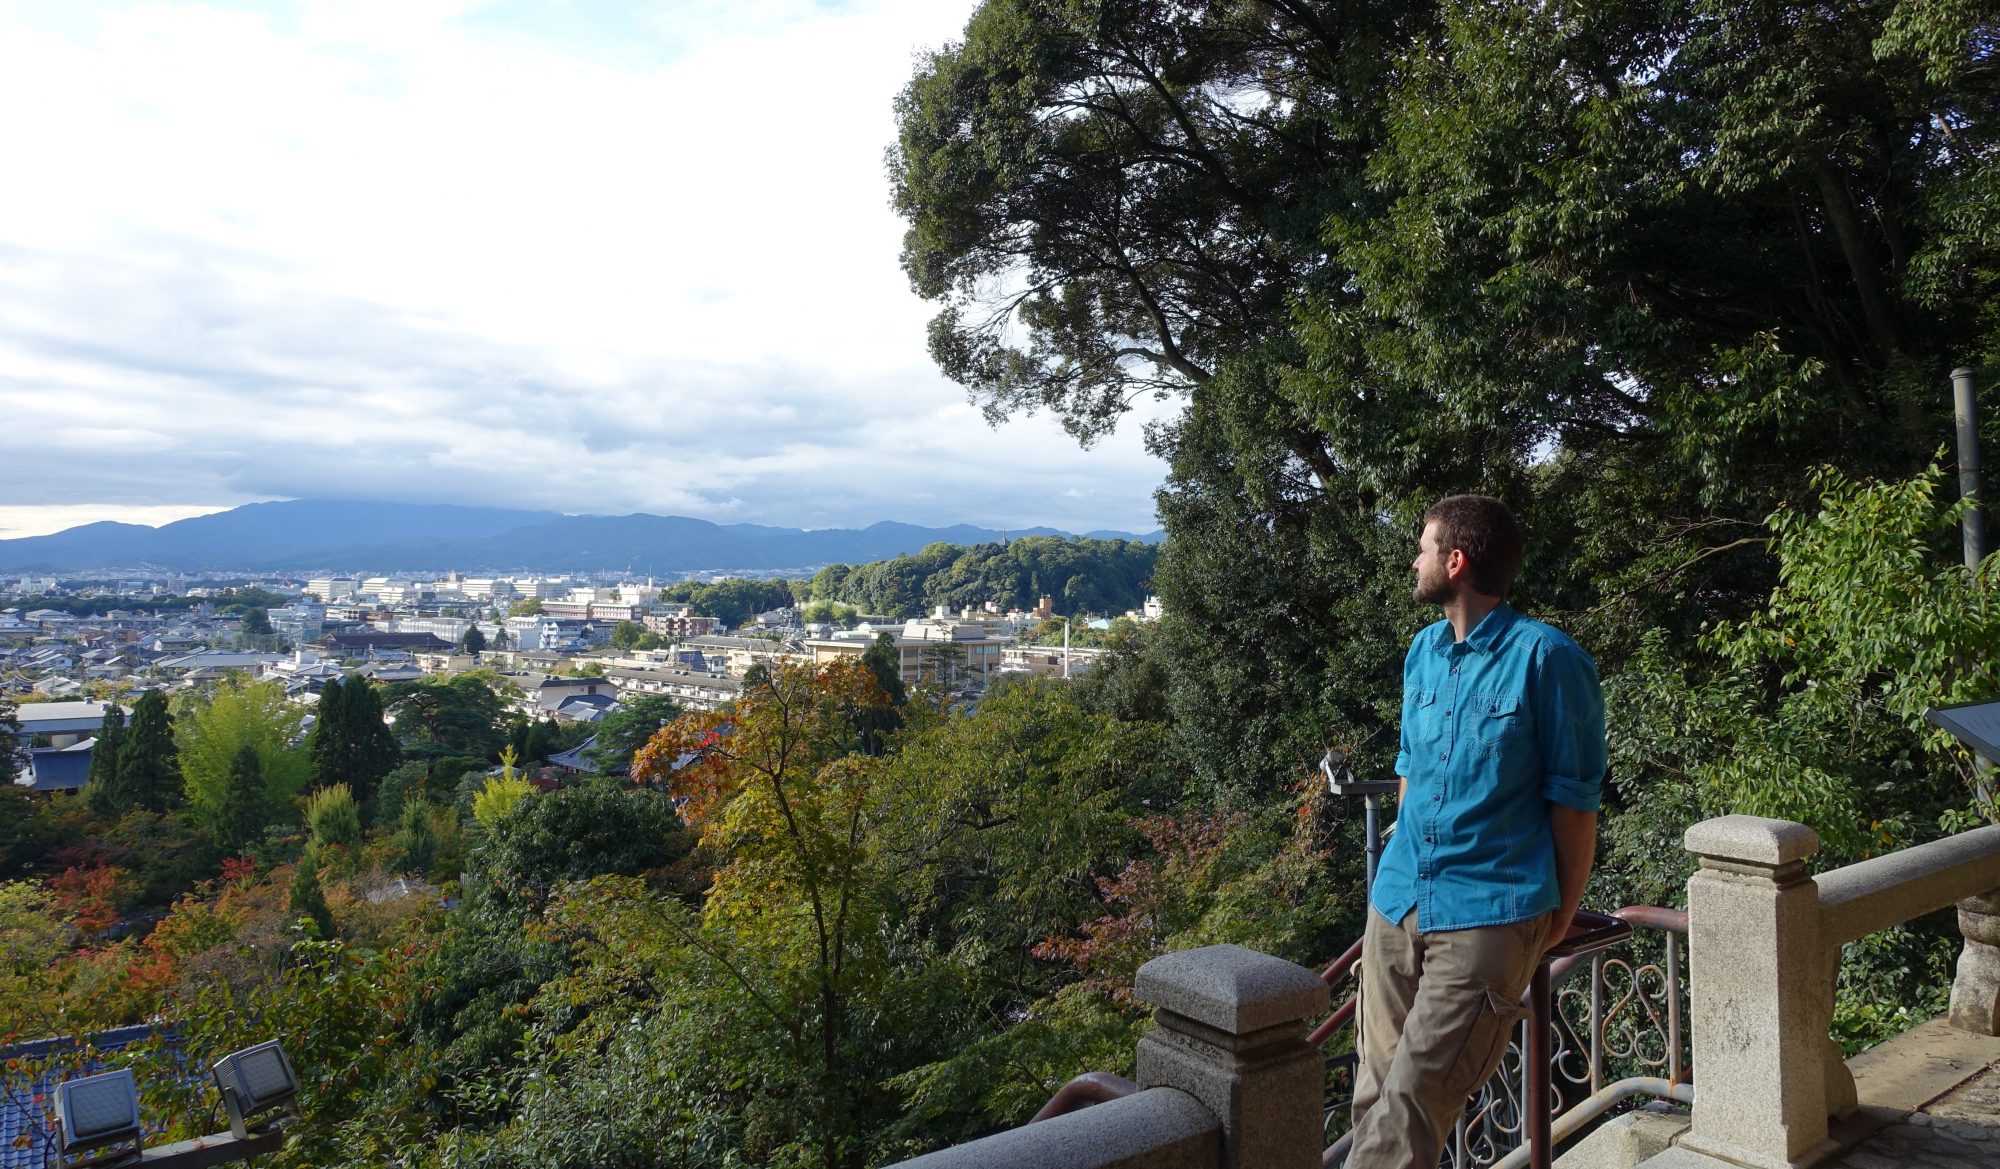
In ancient Japan (if not according to actual history, then according to me, right now, for the purposes of making this analogy), there came a point in a samurai’s education when he had developed a solid foundation in the martial arts and it was time to leave his home dojo (school) and seek wisdom from other sources. This is sort of where I find myself, not in martial arts, but in life in general and kiteboarding in particular. I’ve spent six years in the Pacific Northwest trying to fit in as much kiteboarding as possible around working a 9-to-5 job, my other hobbies, and just generally having a life. So I’ve managed to eke out a solid base of kiting skills, but it’s time to broaden and deepen my understanding. That is to say, to seek wisdom from other sources.
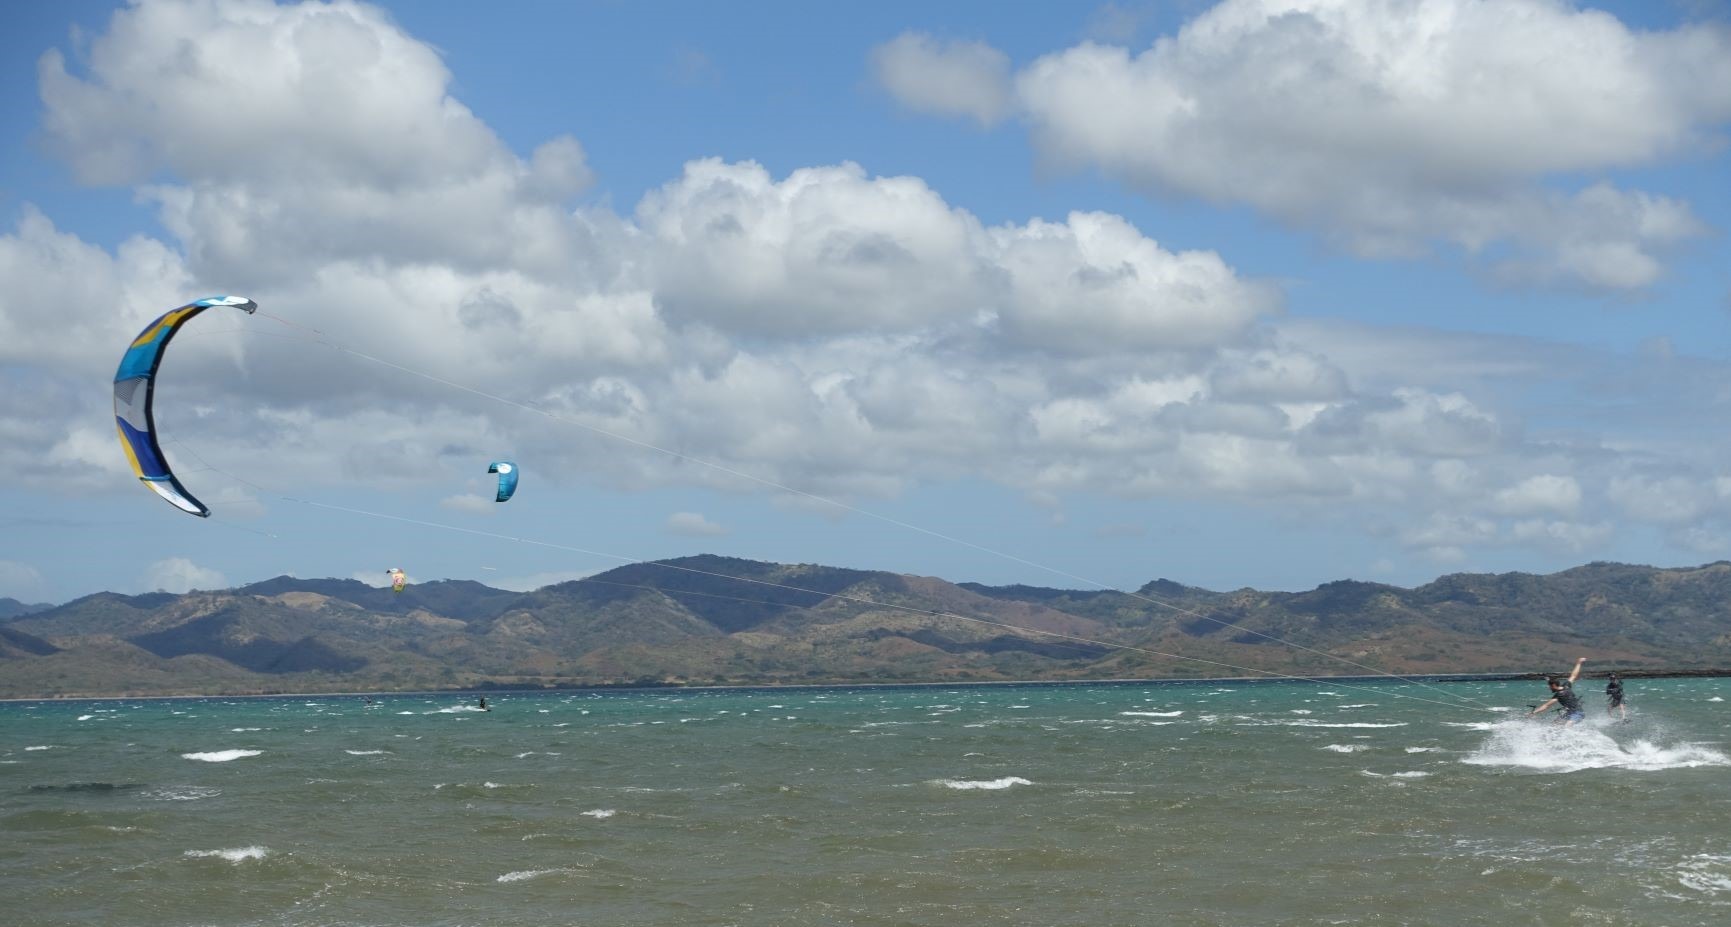
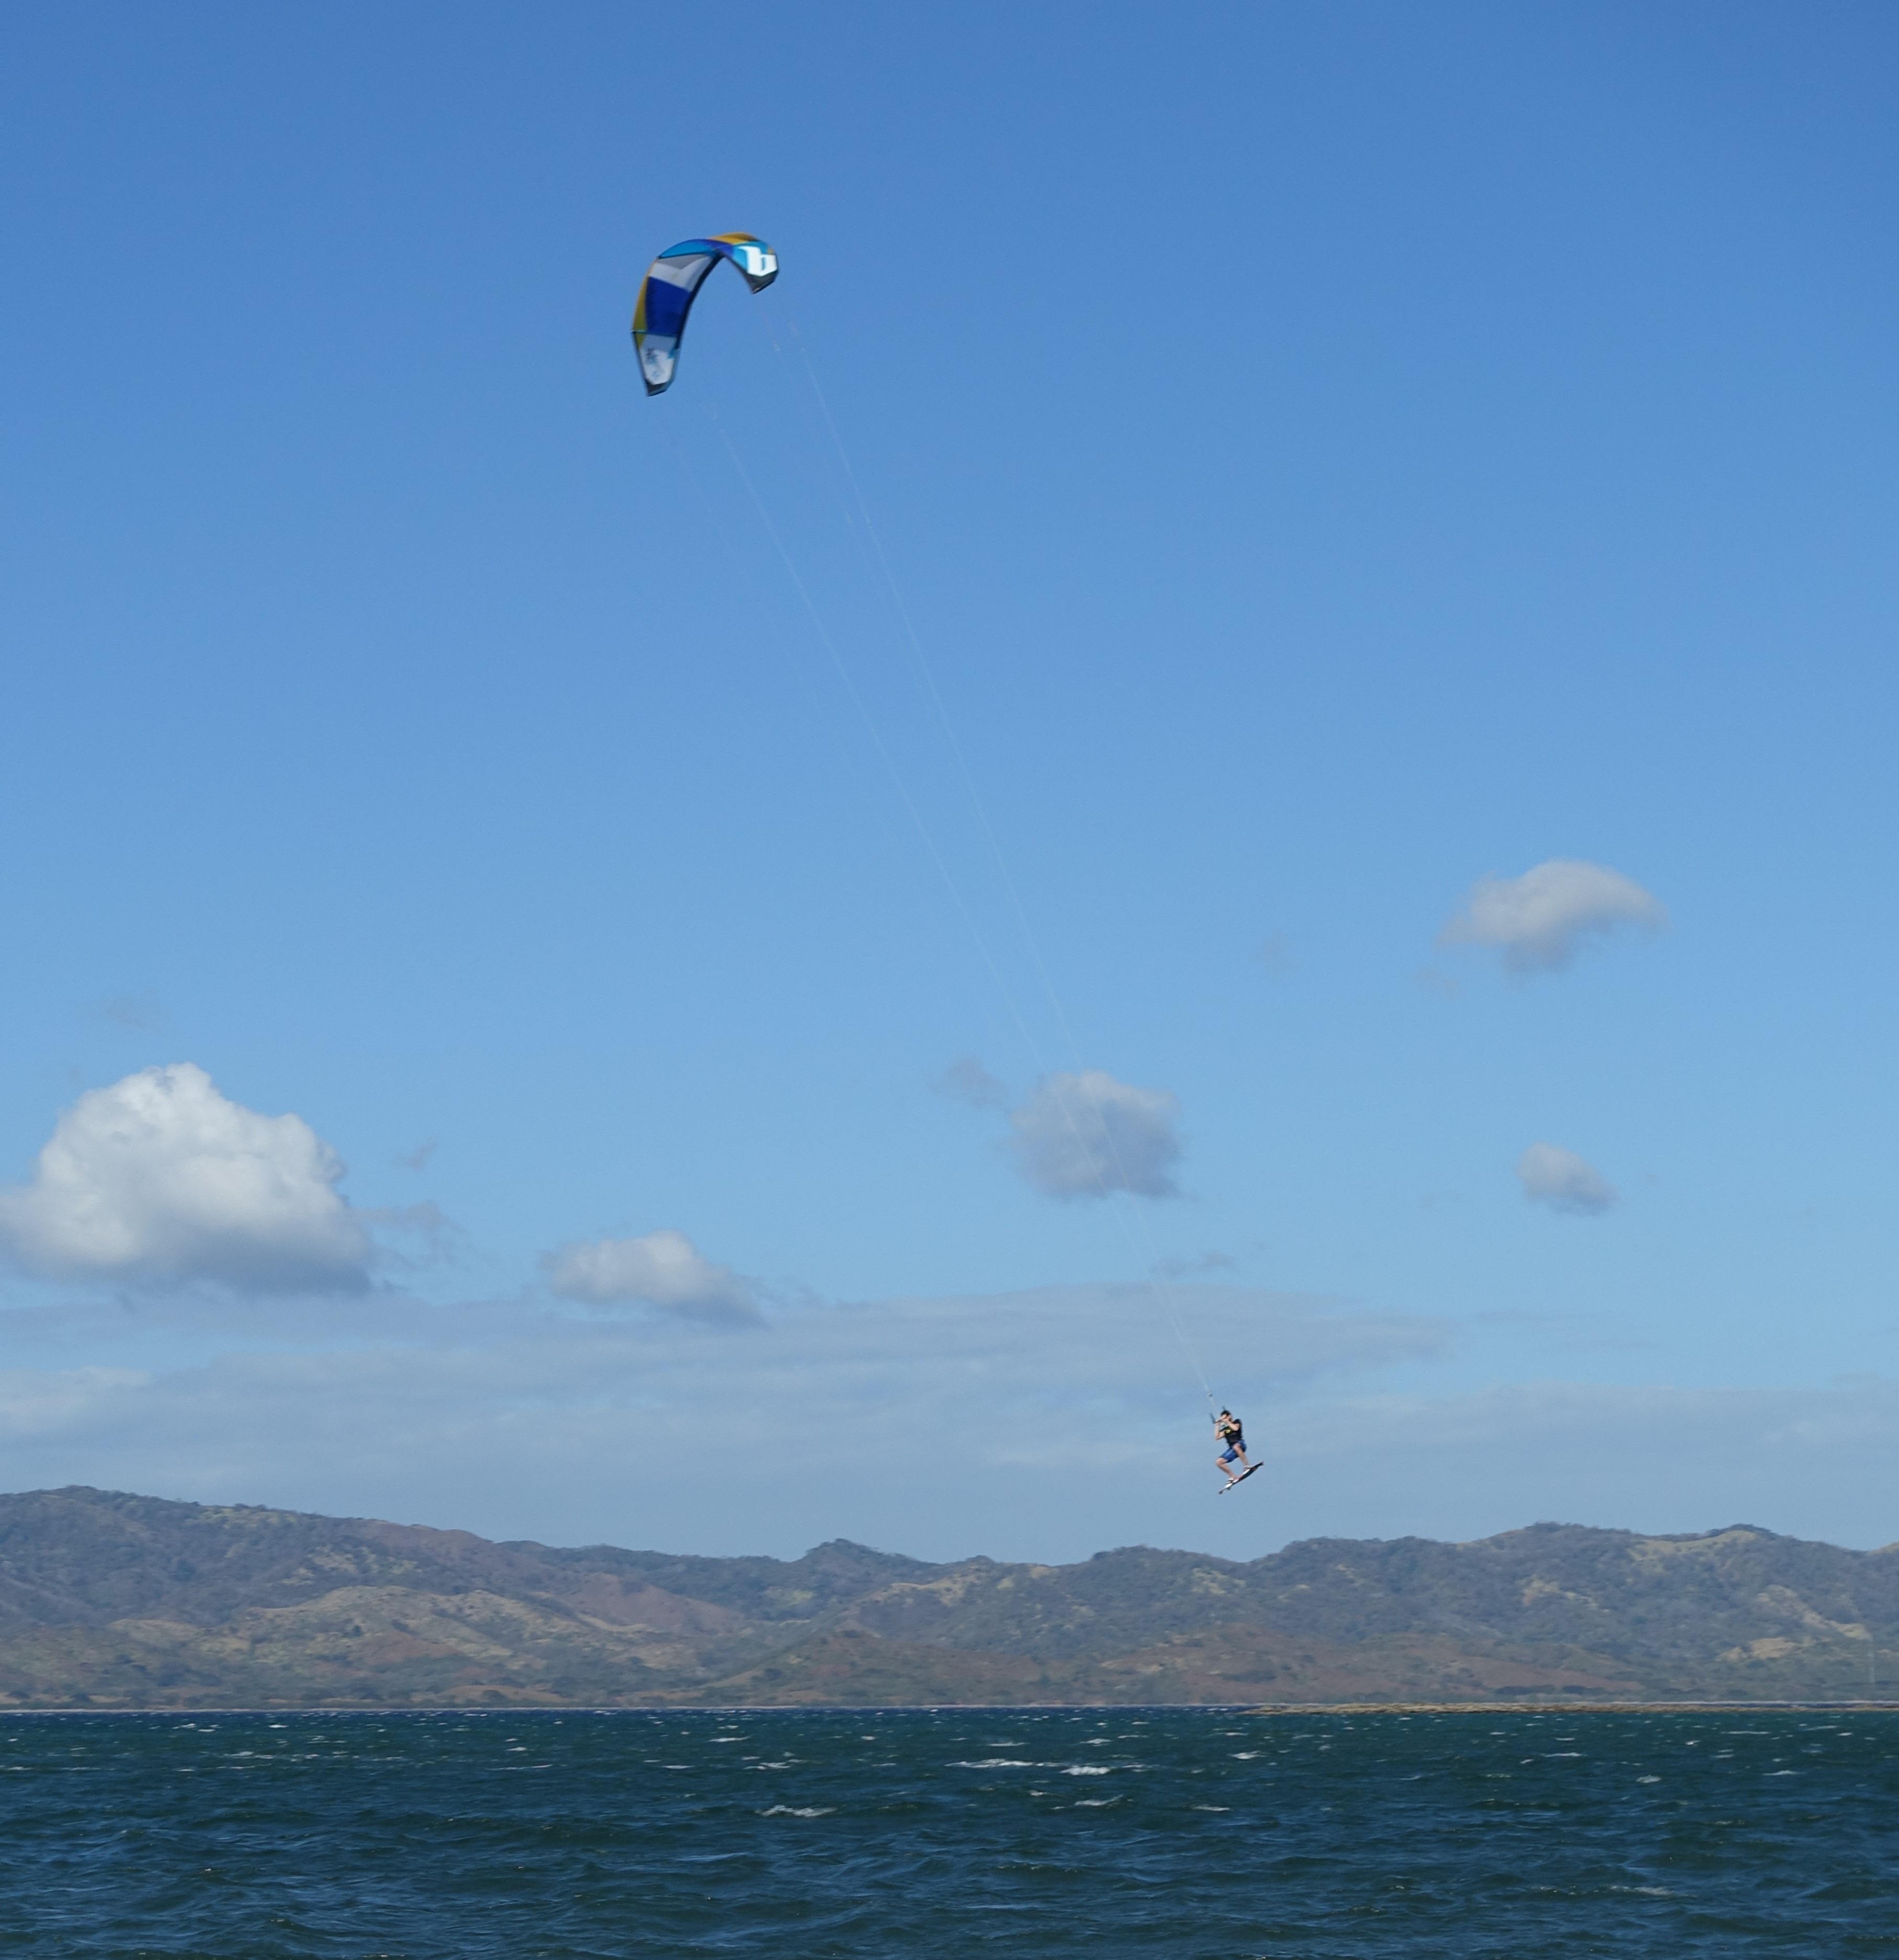
In kiteboarding, if you’re like me, most of the time you will be practicing on your own, outside of a formal lesson. This means your instructors are the wind and the water, and they have a slightly different style in every new location. To go back to the analogy, each beach is its own dojo. My philosophy is that when training at a new school, whether in kiteboarding, martial arts, or some other worthy endeavor, it is most valuable to focus on the core strengths of that style. This is especially valuable if you are only training there a short time, as you want to take as much valuable information as possible with you during your time there. So, with all that said, the lesson to learn while kiteboarding in Bahia Salinas is: big air.
Taken by Elani
That’s not to say that there are no other reasons to go there. The wind is constant and strong, the temperature is pleasant, and the views are great. But with strong gusty winds and plenty of chop, what is best to practice there, at least in my opinion, is improving your jumping technique.
If you’re considering making the trip down to Bahia Salinas to hone your skills, let me pass on what I learned about this locale. I was there for two weeks, from the last week of January to the first week of February. It was my first time there, so my first hand knowledge is all from that experience. All my other information is from talking to the instructors and fellow kiters on the beach or from the Internet.
Where are the launches?
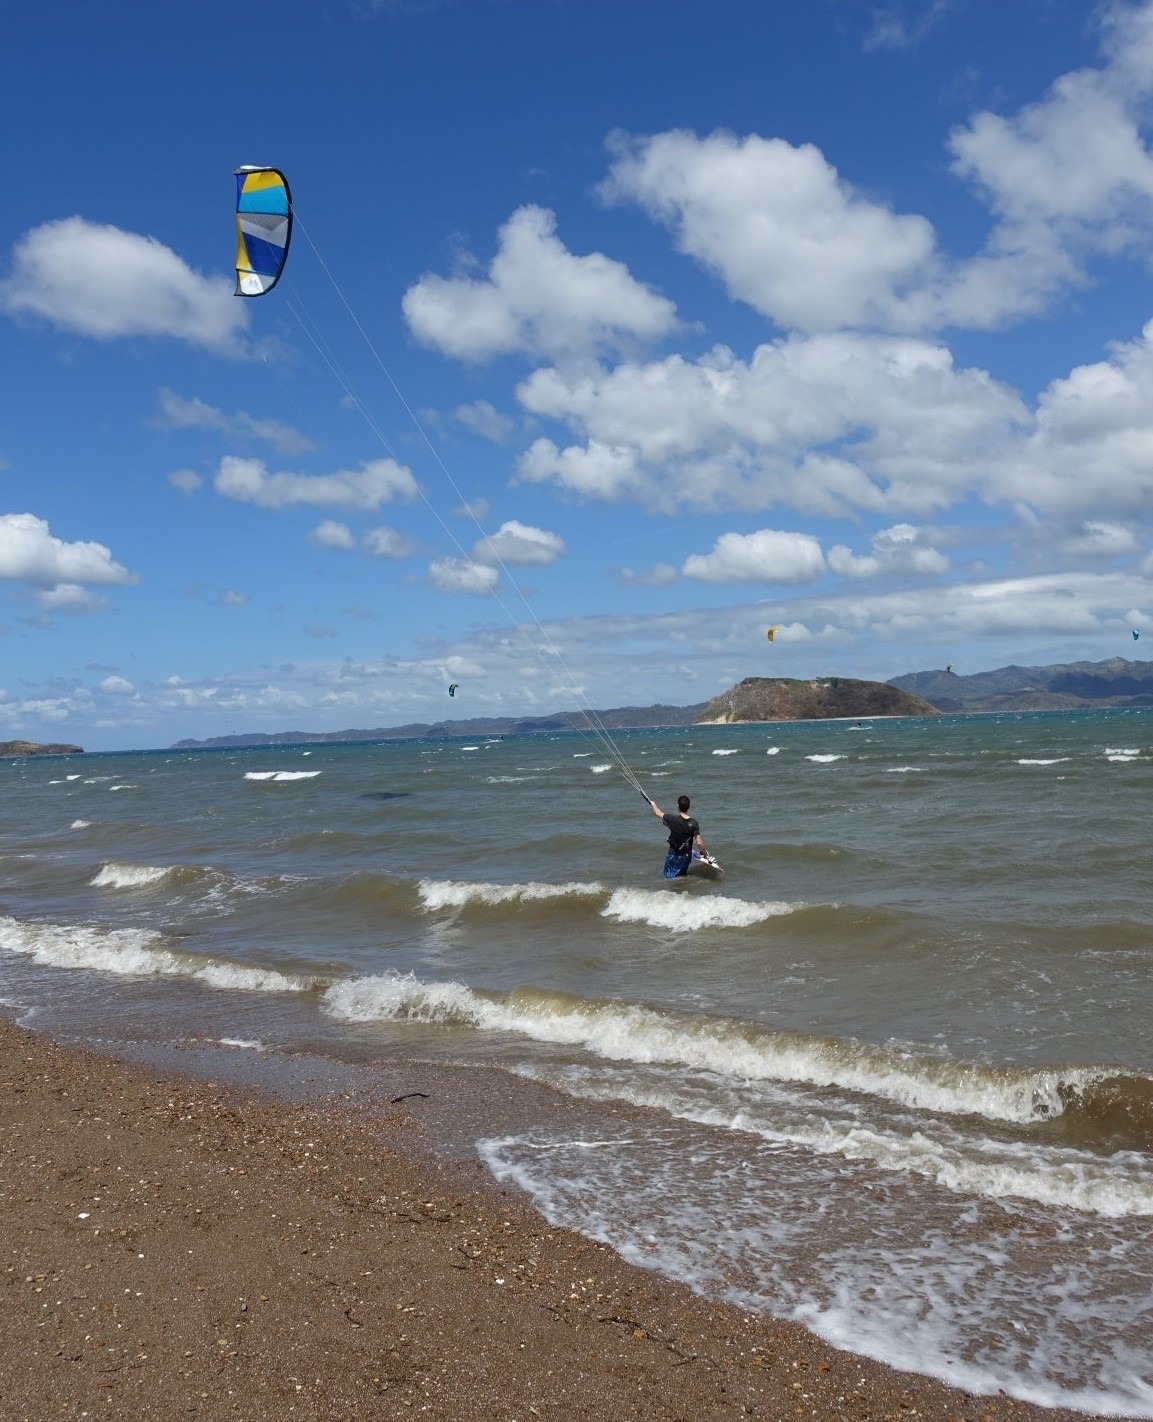
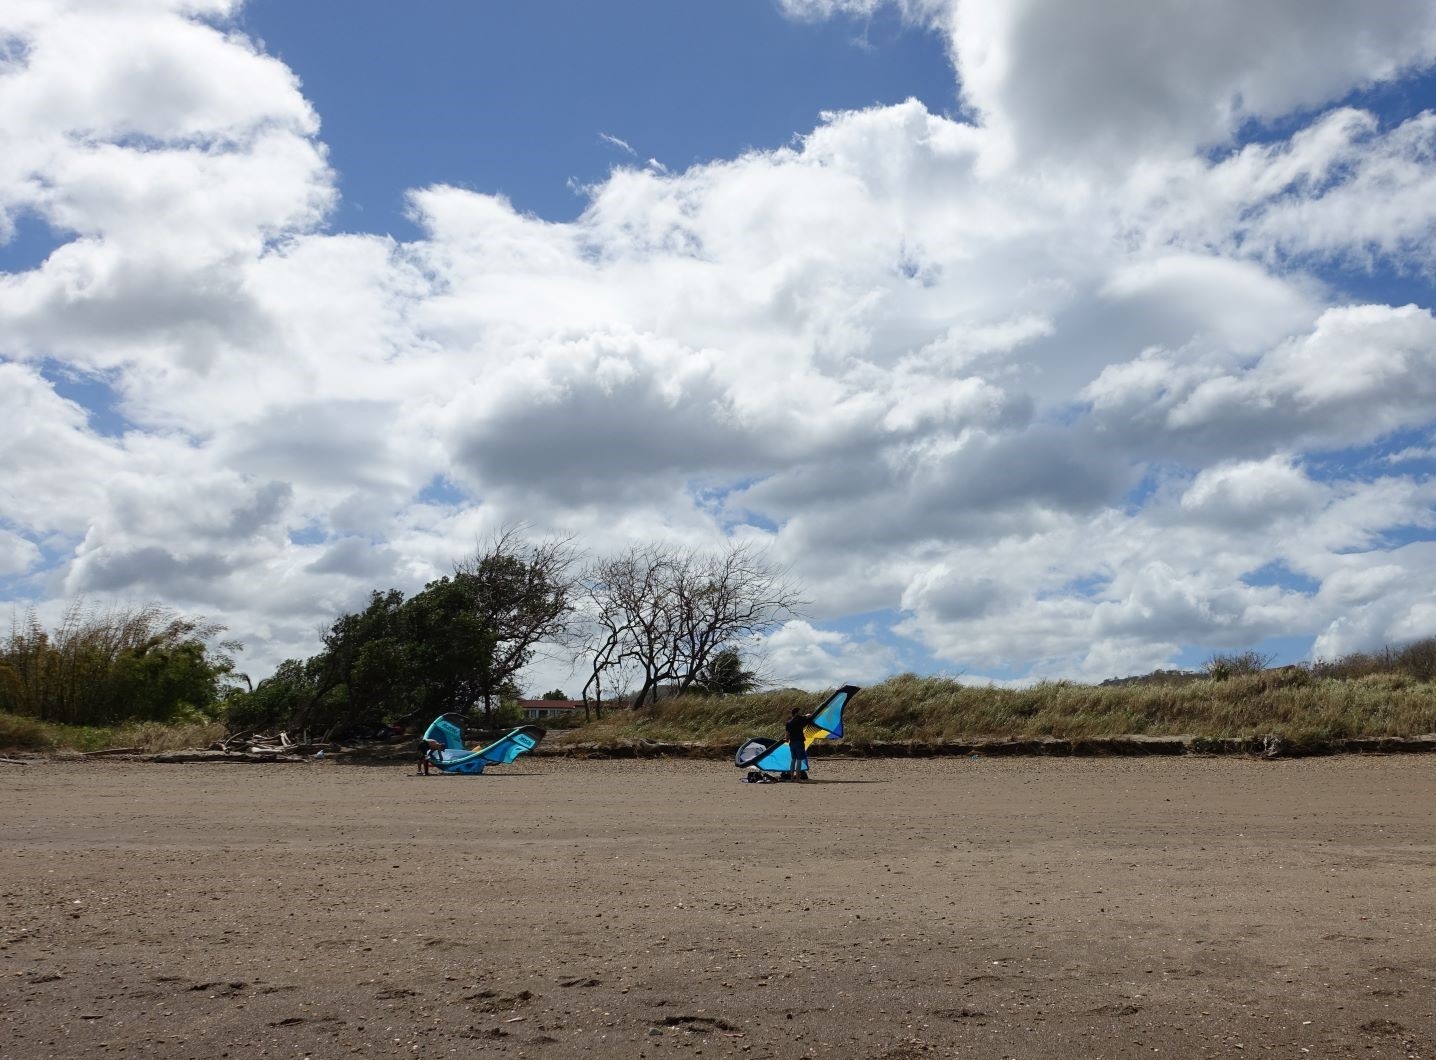
All the launches that I’m aware for Bahia Salinas are on Playa Copal. It’s a section of sandy beach on the southern coast. There are three launch points, each one taken care of by a different resort/school. I was staying at Kiteboarding Costa Rica on the west end of Playa Copal so I used that one almost all the time. There’s public access and parking at this launch as well.
Taken by Elani
What are the conditions like?
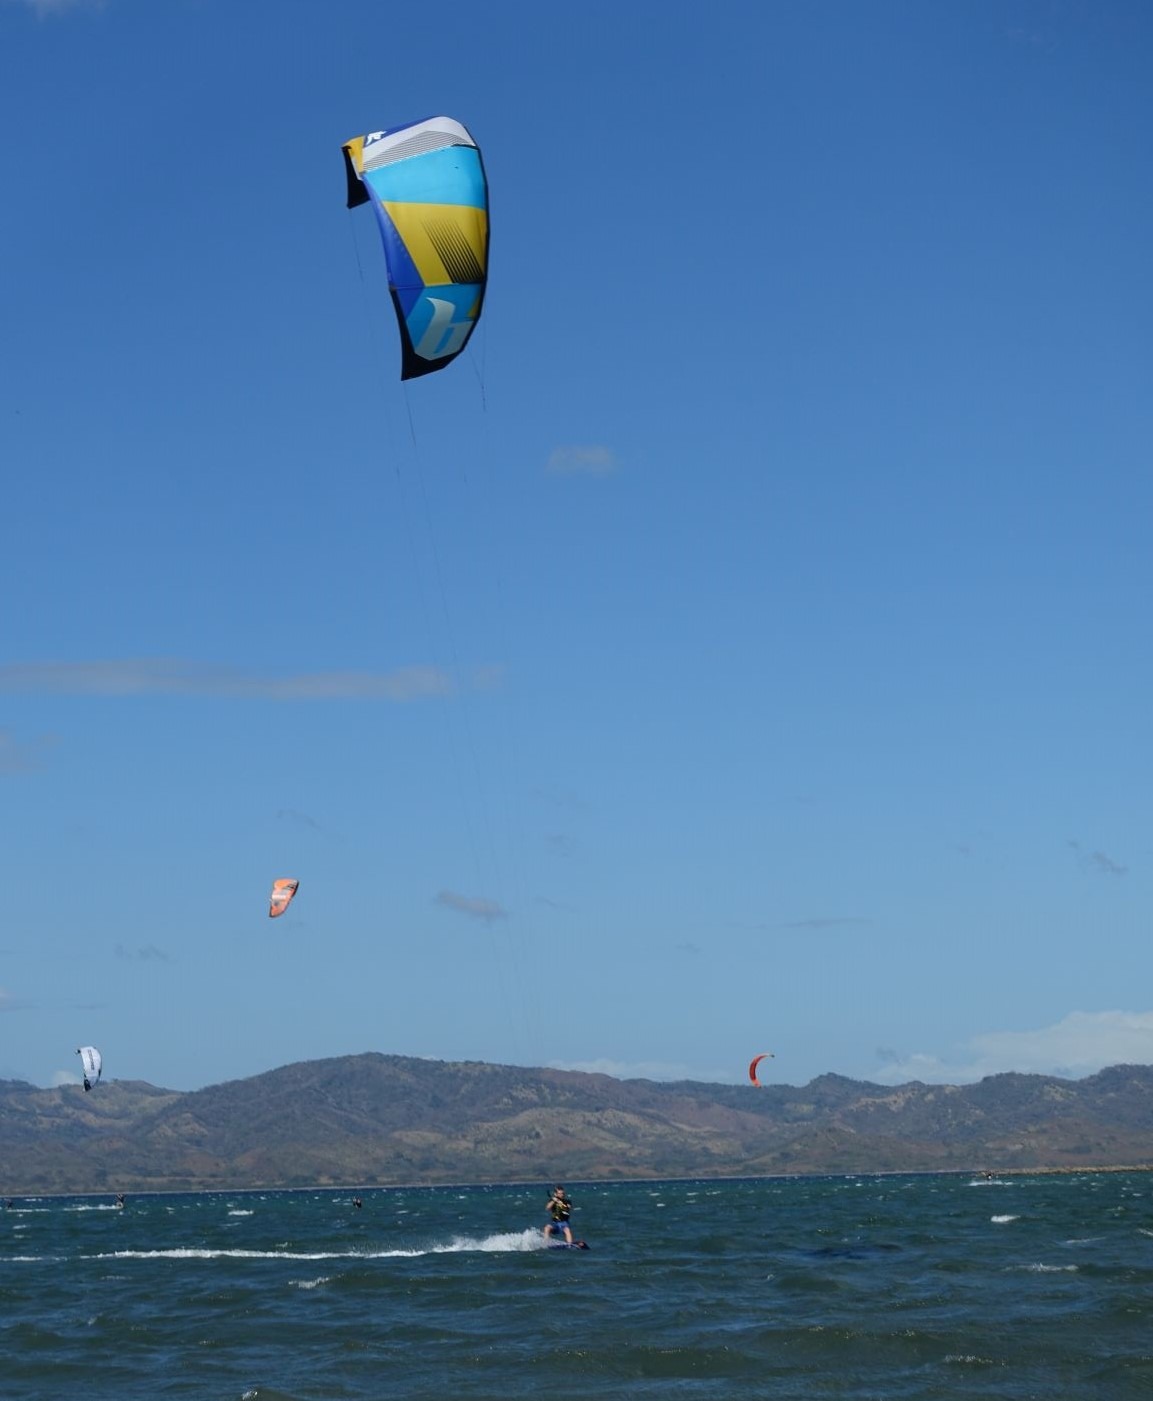
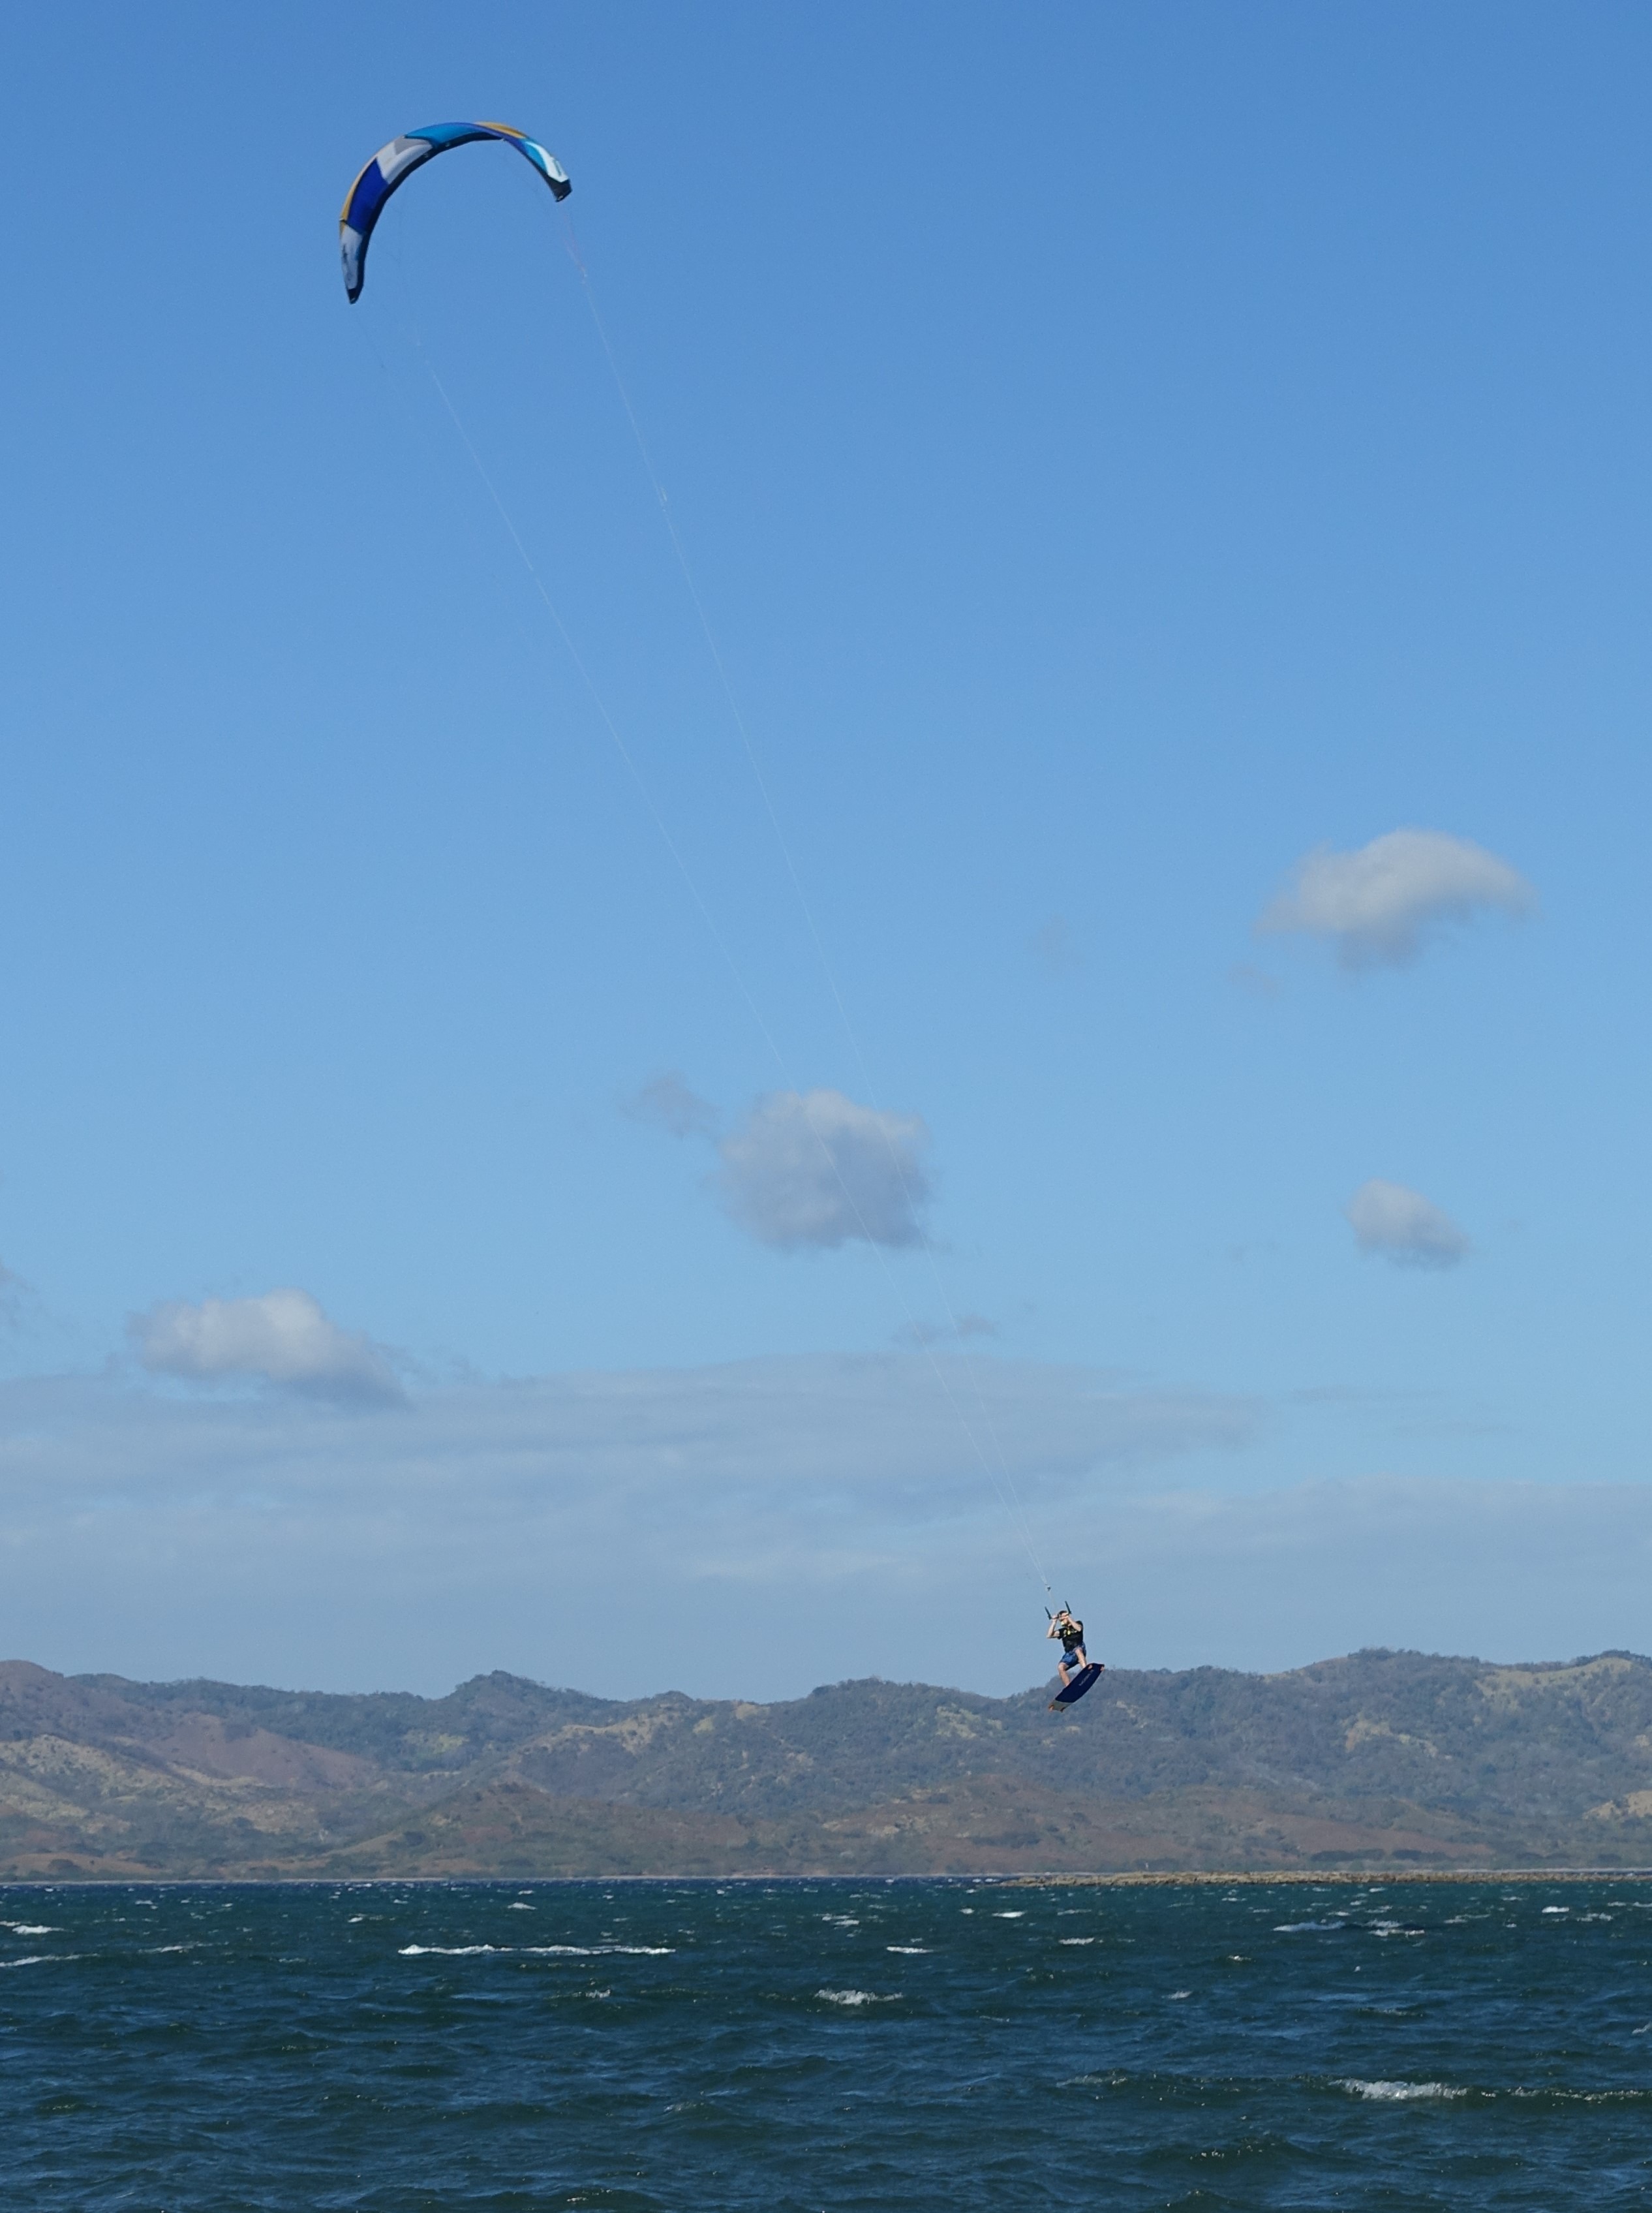
The wind blows constantly. December through March is the peak season here. Expect winds around 20-35 knots, and be prepared for guests in the 40+ knot range if you’re here that time of year. Winds lighten up in the off season, but are still kitable most days. The wind can also get very gusty and variable at times. If winds are at the upper limit of your kite, it’s probably best to drop down a size so you have some bail out room if the wind picks up another 10 knots or so. The wind can get pretty “punchy” (quick hard gusts) at times, so be prepared to get jerked around in your harness and have a few jumps go higher than you were planning. While the wind speeds are all over the place, the direction is not. It’s pretty much always northeast, creating side on-shore conditions. With these conditions, if you can make decent progress upwind, you should have no problem returning to the same spot on the beach. Beginners may work their way down the beach and have to walk back up, but at least there’s no danger of being blown out to sea.
The water conditions are choppy, but with no real surf. If you make it to the center of the bay, you may see some four foot rolling waves, but closer to shore, these flatten out and it’s just small (less a foot or less) chop, mainly from the wind.
Taken by Elani
What is the beach like?
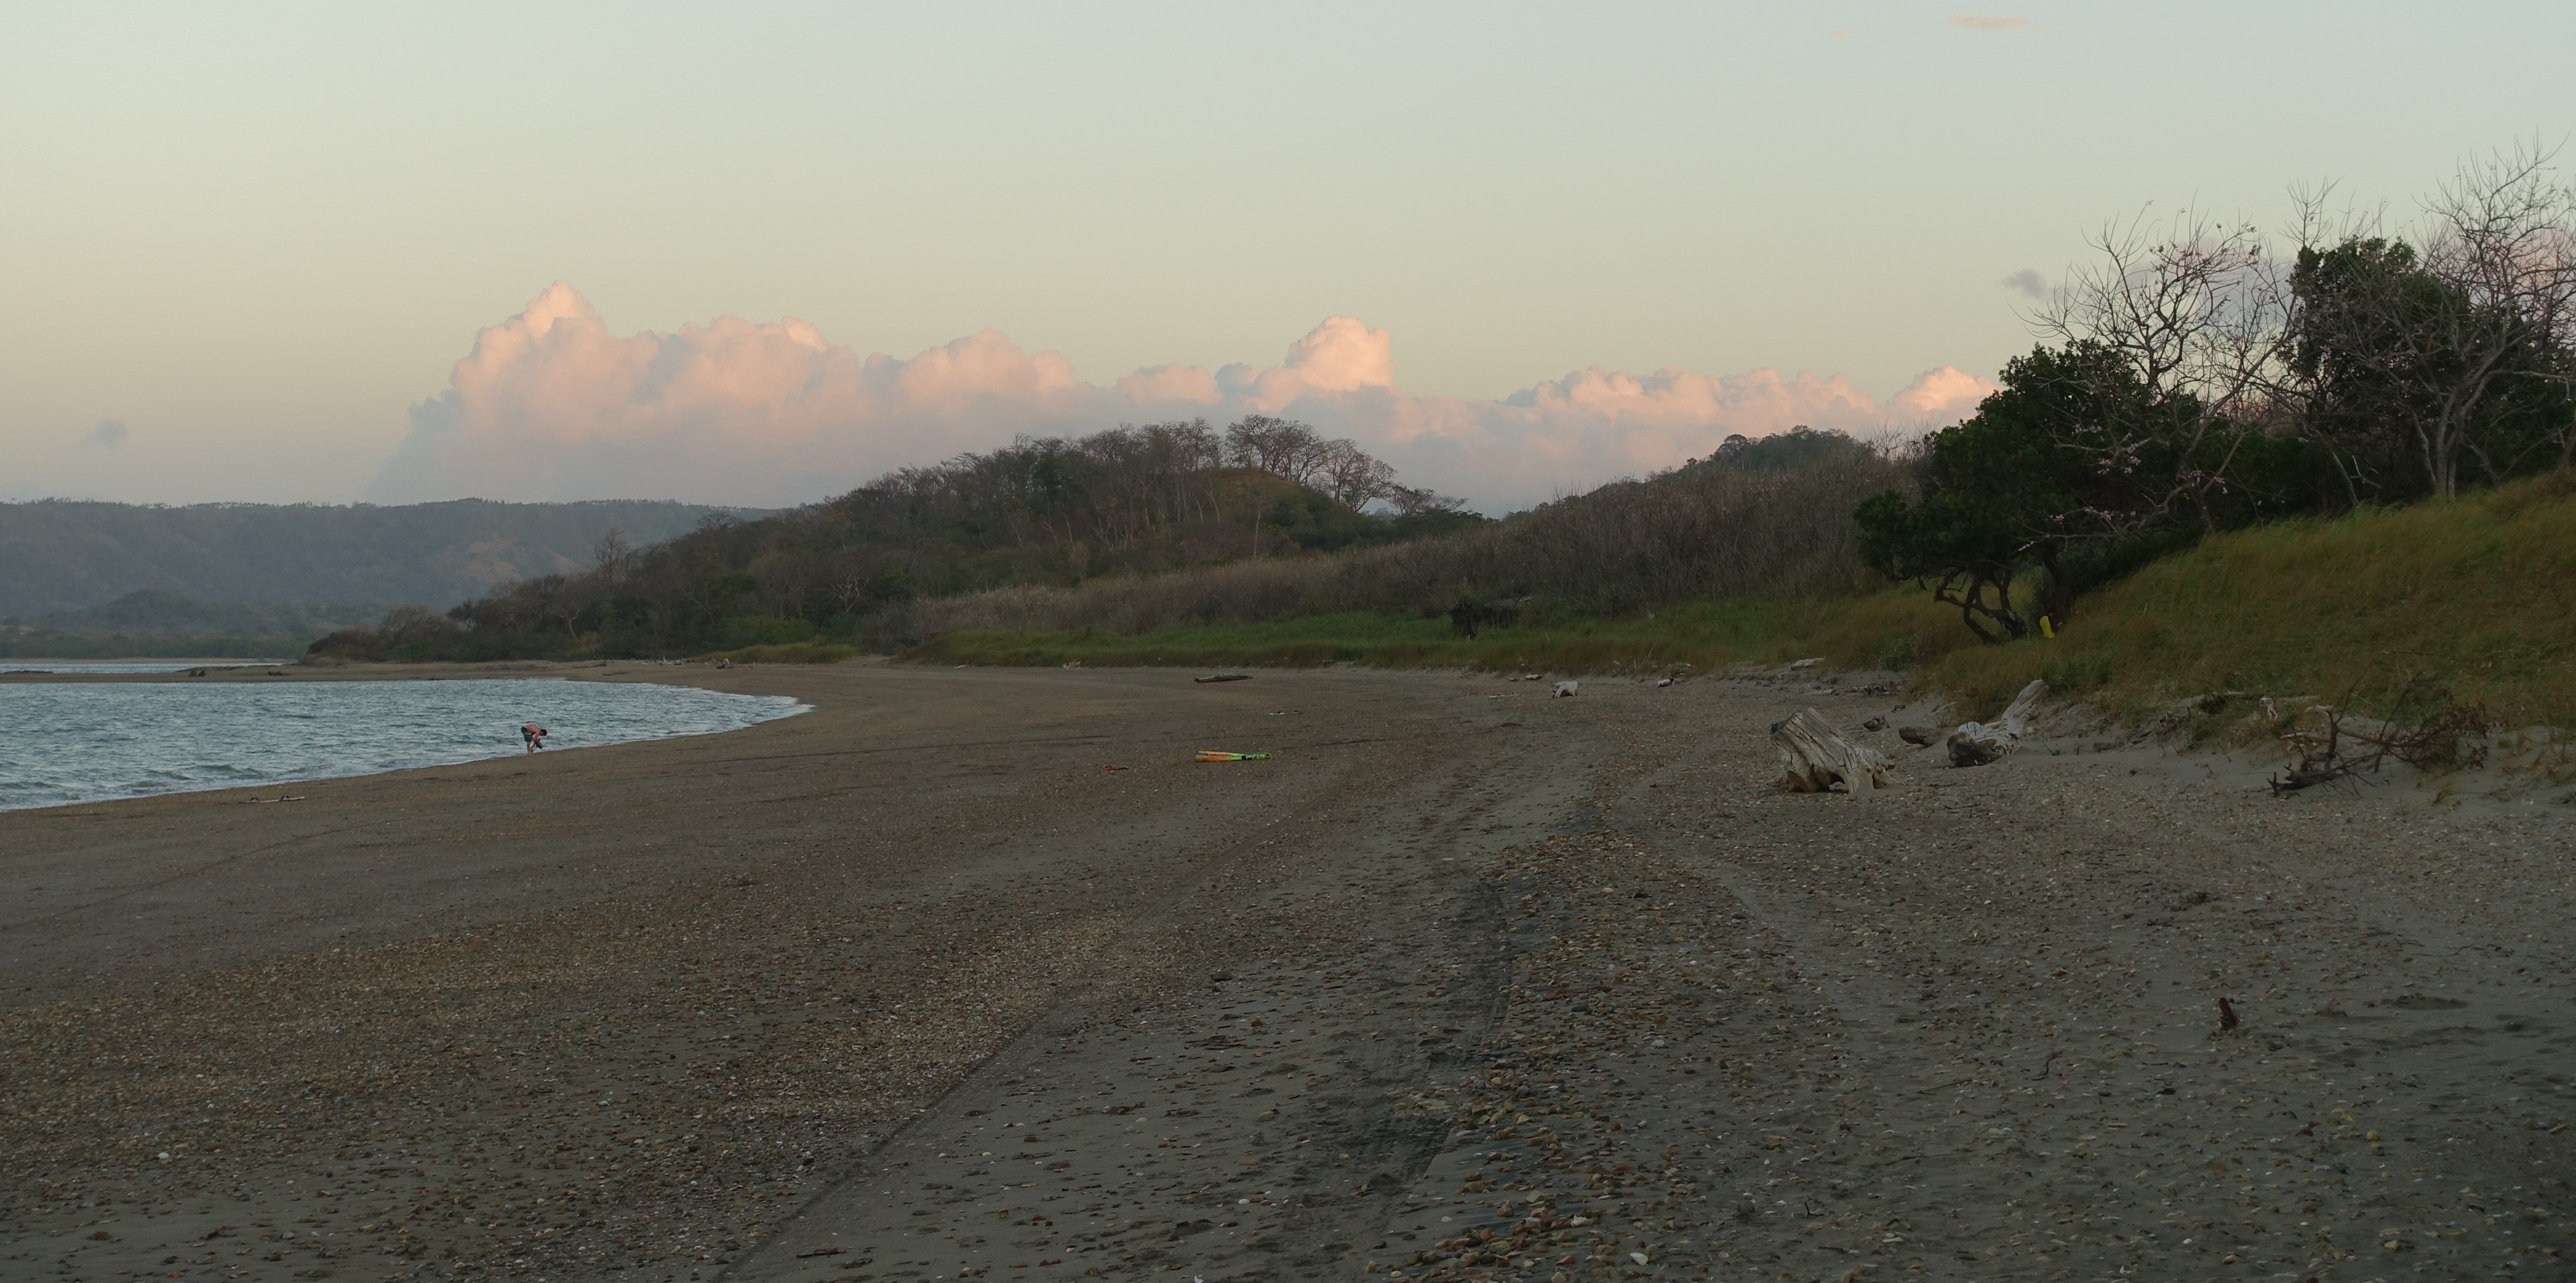
The beach at Playa Copal is flat and sandy with intermittent rocks and shells. Usually there is plenty of beach to launch from, but at high tide, the water can come right up to the bushes. If that happens, try heading to the farthest east of the three launch sites. It’s an easy walk from the other launches if you don’t mind getting your feet wet.
Taken by Elani
What facilities are there?
I believe there are three schools operating on Bahia Salinas. All offer rentals, lessons, and gear sales, and two of them are also resorts with rooms and restaurants.
The schools have places on the beach under shade to hang out, but no official changing or rest rooms. They also have someone around to help launch and land and set up kites and change out kites for those who are renting gear from them.
What to bring?
High wind kites are the name of the game here. A 9m and 7m would be my first choices – I’m 75kg and ride a twin tip. The smallest kite I had with me was a 9m and I was able to get out on it most days. But if I’d had a 7m with me, it would have been a better choice more often than not. If you have room for a third kite, I’d go with a 5m in peak season and a 12m in the off season. You’ll want a board that can handle a bit of chop.
A full wetsuit isn’t necessary, but a thin shorty or neoprene top might be nice, especially on overcast days. The sun is very intense in Costa Rica, so make sure you bring sun protection. Sun glasses, surfer hats, and long sleeve rash guards wouldn’t be a terrible idea. The sea floor is mostly sandy, I went barefoot without issue, but there are occasional rocks and shells so some folks may want to wear booties.
Taken by Elani
What are the hazards?
There aren’t many rocks and the ones there are mostly visible. There’s a rocky reef that is mostly covered at high tide, but is fairly far from the beach and directly up wind, so you’re not likely to run into it accidentally. On the east end of the beach, there are a few submerged tree branches to watch out for.
There are no rescue boats in operation (and very little boat traffic in general), so you’re not likely to get a rescue if anything happens. Thanks to the shape of the bay, it would be extremely unlikely for you to get blow out to sea. But be aware that if you head a long way from shore and something happens, you could end up on some pretty remote stretches of beach a long walk from where you started.
The biggest danger is stingrays. The instructors say that stings are uncommon, but another kiter was stung while I was there (right through his neoprene boot). They like the flat sandy bottoms in shallow water, so if you stick to the deep water, you’ll have no troubles.
What to do when not kiting?
I don’t recommend coming here if you’re looking to party. The area is pretty rural. The kiting resorts all have their restaurants, of course. Where I stayed, the only other things in walking distance were one restaurant and a little local grocery. There are few more restaurants in the area if you have a car, and you can drive to the nearby town of La Cruz. La Cruz has a few more dinning and drinking options, but it’s not exactly a tourist destination (if you want to read about my experience exploring La Cruz, click here). The scenery is nice, the weather is warm, and there’s a far amount of wildlife to enjoy. If you’re looking for much more than that, this may not be the ideal destination for you. Also, if you are planning on working, or just surfing the web a lot, be aware the internet is pretty slow and unreliable. It’s okay for checking email, but don’t plan on streaming videos or anything like that. It’s a good place to spend your days honing your kiting skills and your evenings relaxing and catching up on some reading.
Taken by Elani